How to convert TrackMate Results to Mars
level: intermediate, duration: 10 min
Next to the build-in tracking software, one can use the commonly used tracking software TrackMate1 as well to build a Molecule Archive. TrackMate is a very extensive, well-written, Fiji plugin used for tracking of for example fluorescent cells or fluorescent single particles. It uses a wizard to guide the user through the selection of detection and filter settings. For an extensive overview of the functionality and features of TrackMate, as well as a tutorial on the tracking software itself, please go to the official TrackMate Documentation.
The aim of this tutorial is to show how the results from TrackMate can be exported to a Molecule Archive. The example video used in this tutorial is the same as used in the Let’s Make a Molecule Archive tutorial. It is advised to go through this tutorial first to be familiar with Mars and the example dataset. Only filters and settings relevant for this example video are discussed in this tutorial.
1. Spot Detection in TrackMate
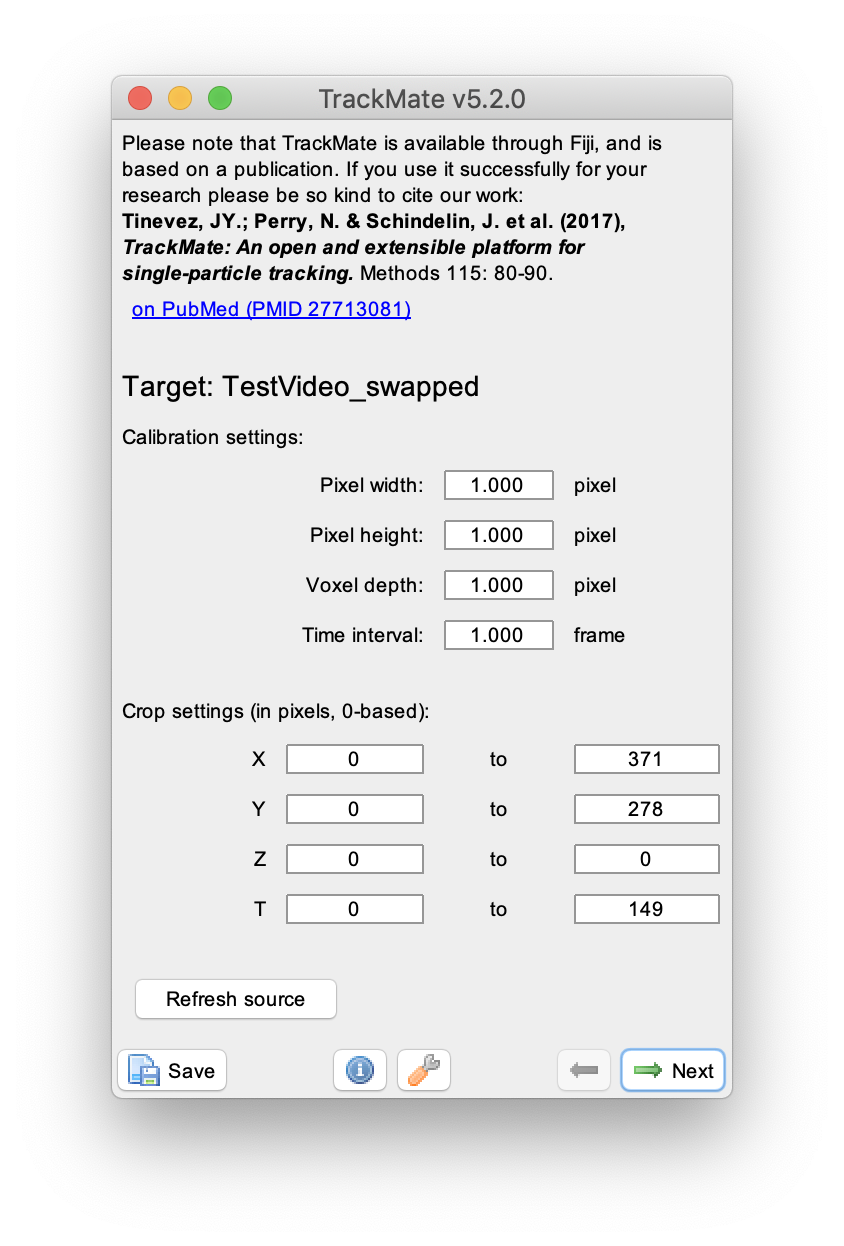
Open the video ‘TestVideo.tif’ in Fiji (File>Open>…) and start the TrackMate Plugin (Plugins>Tracking>TrackMate). The TrackMate wizard will open. Keep the default detected settings (the video is 371 pixels wide, 278 pixels tall and has 149 time points).
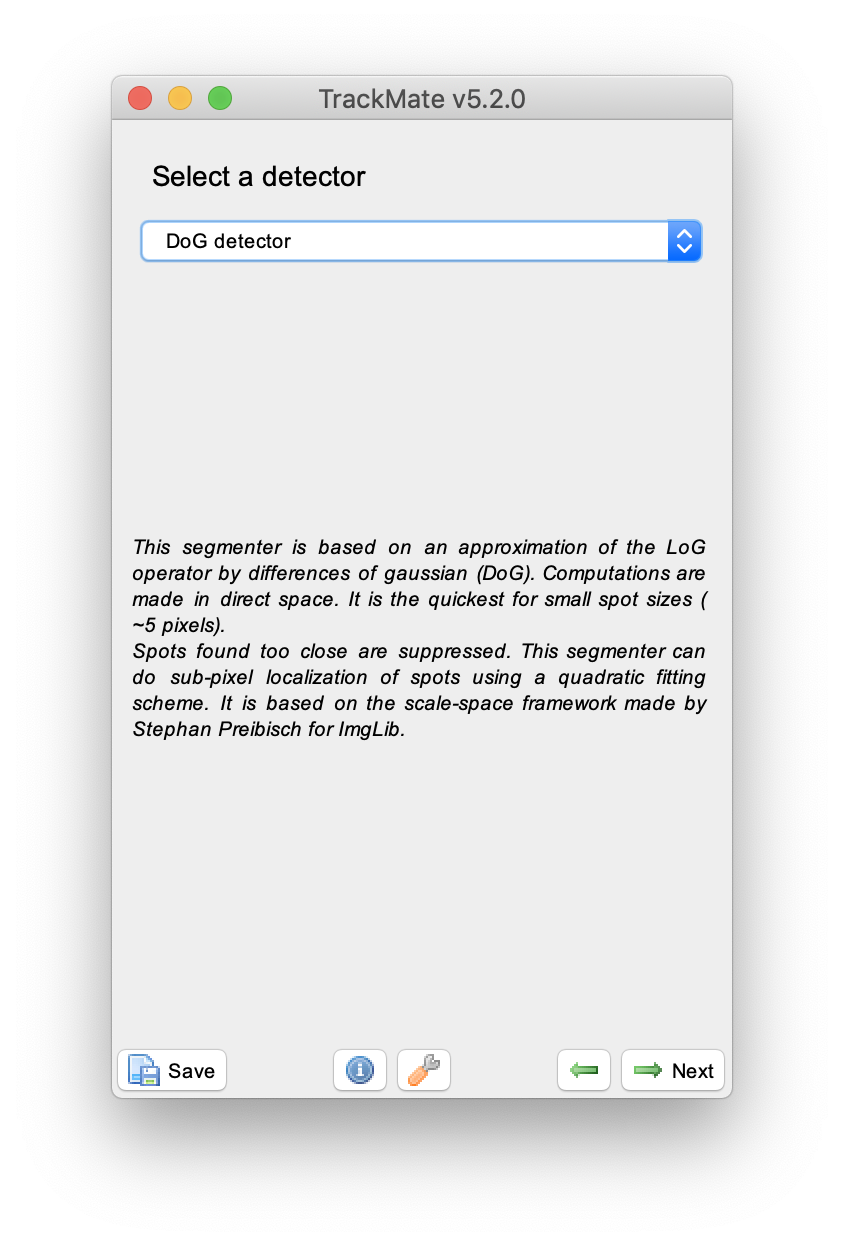
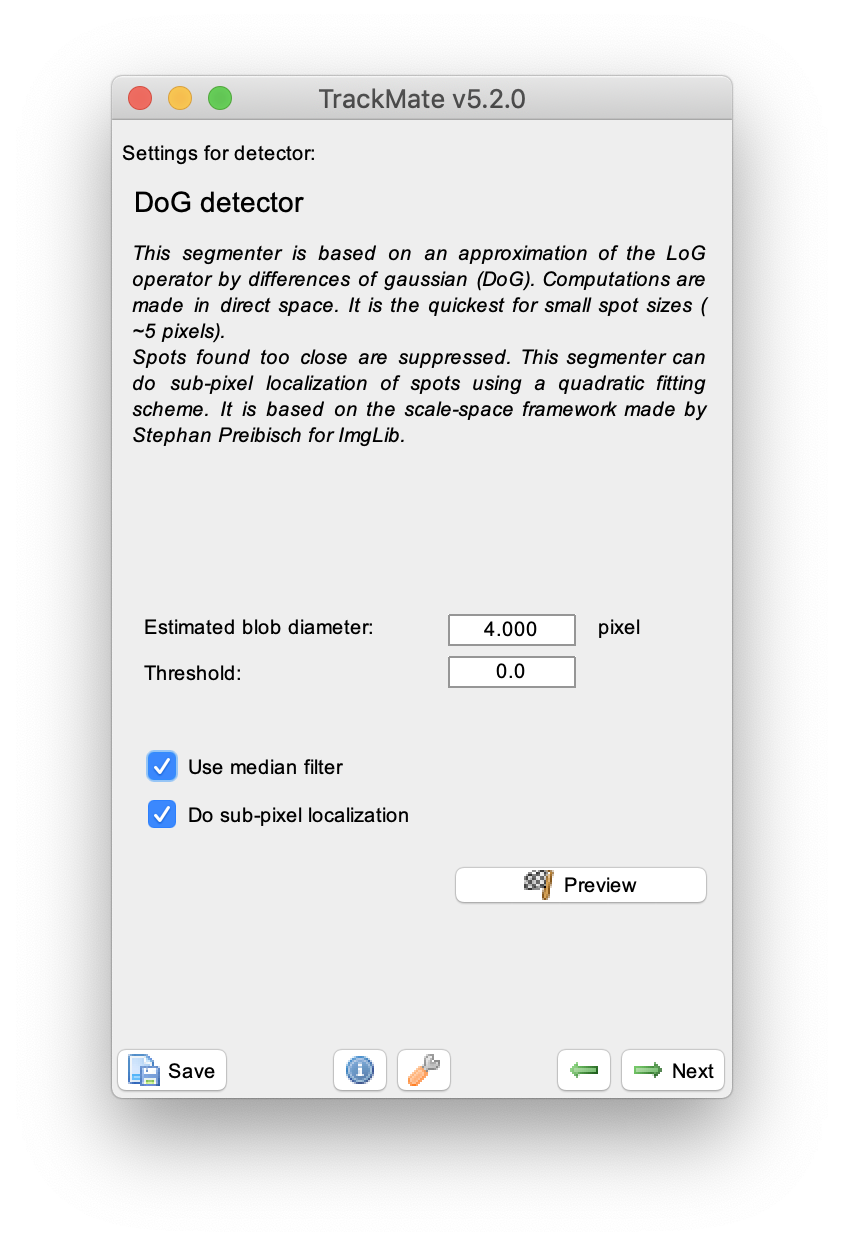
Press next, and select the ‘DoG detector’. This detector is especially well suited for detecting small spots as is the case in the example video. Set an ‘Estimated blob diameter’ of 4 pixels and enable both the ‘median filter’ and ‘sub-pixel localisation’ options. Press the preview button to see which peaks are detected with these settings in the video, then press next. A new window appears, press next again to continue to the ‘initial threshold’ menu.
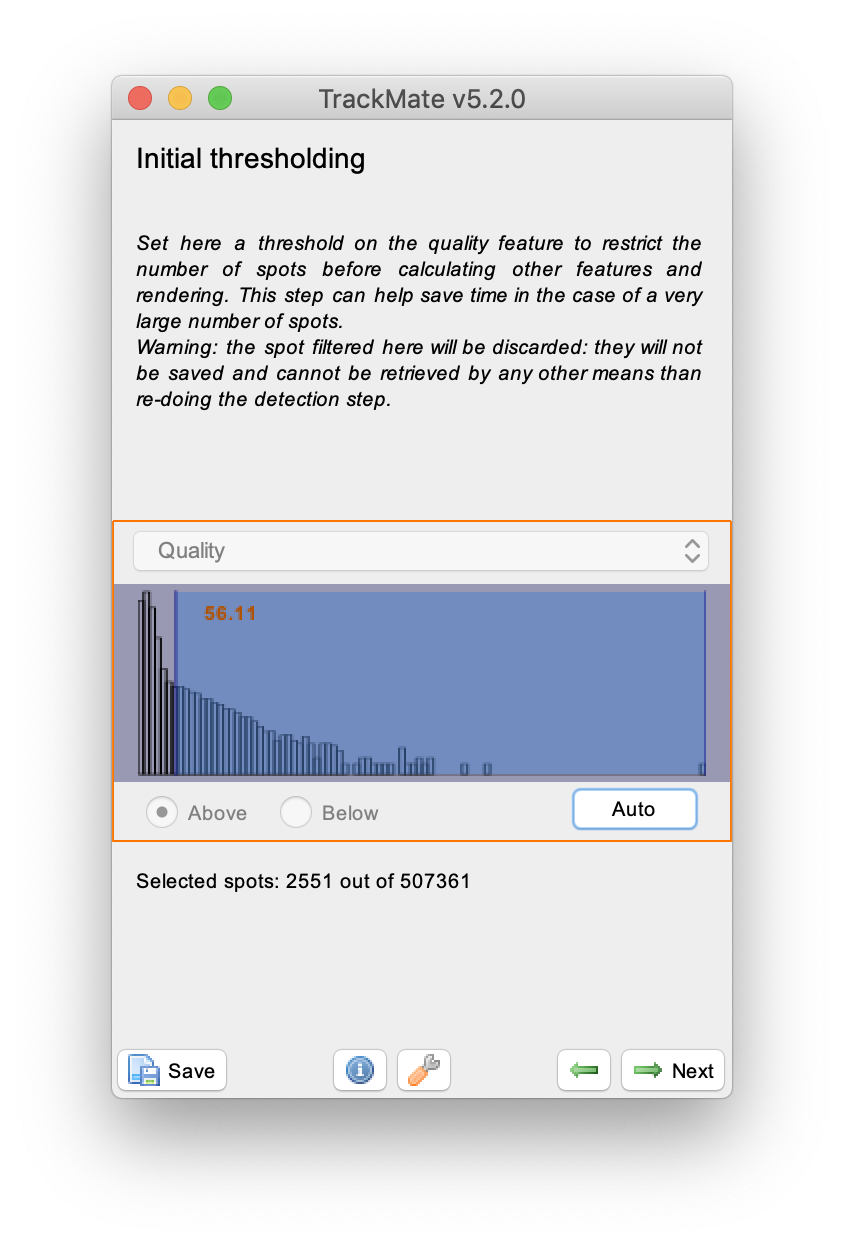
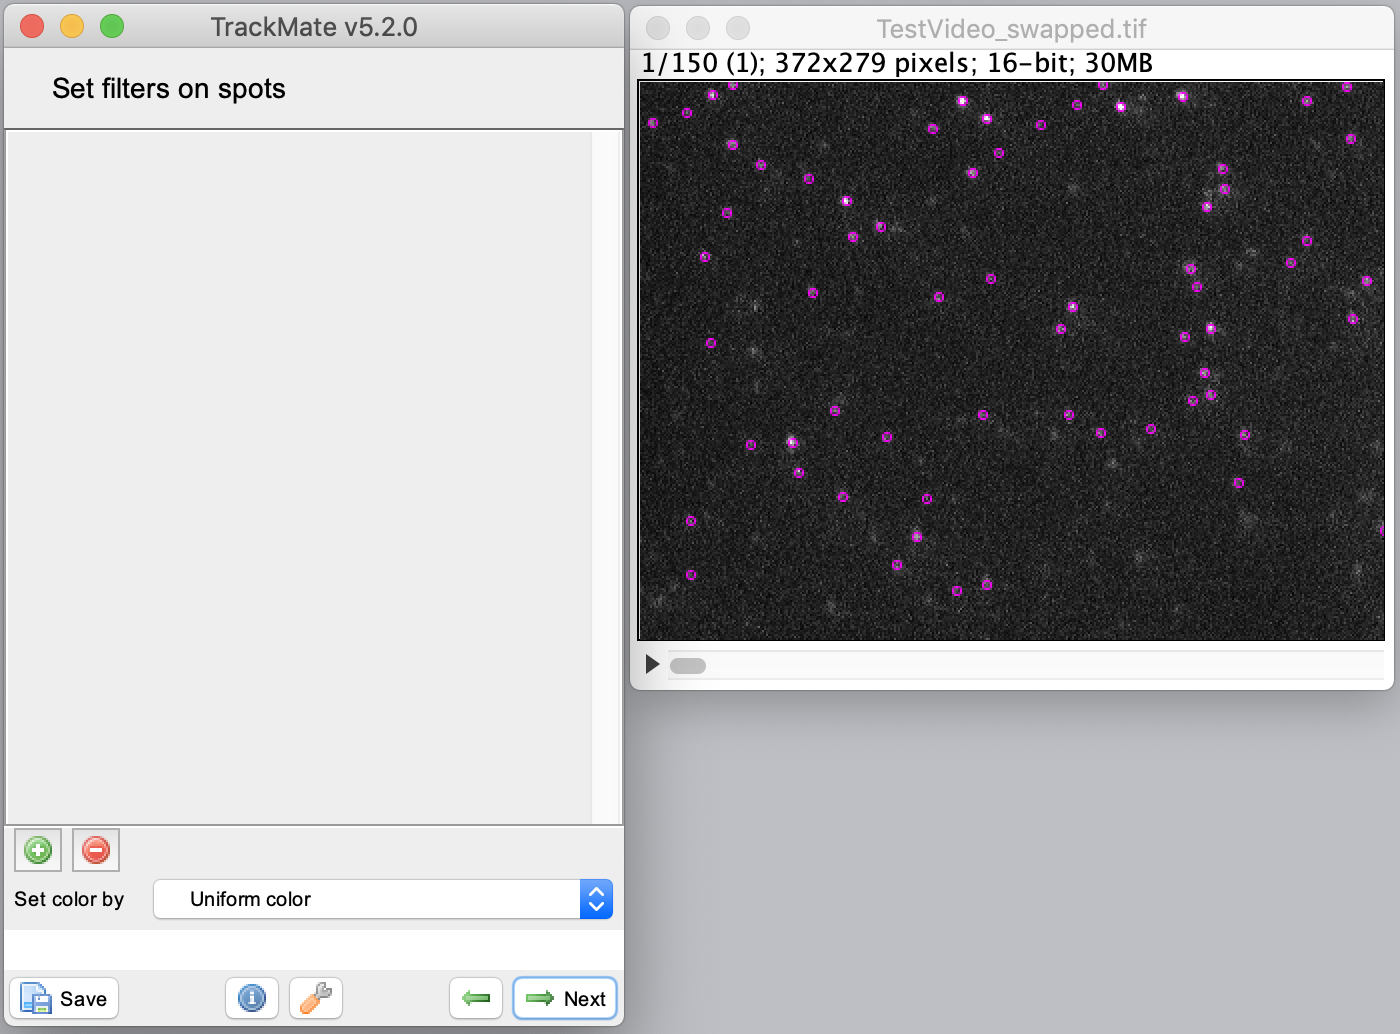
The next step is to set the ‘initial threshold’ parameter. Press ‘Auto’ to end up with the settings shown. In the next window, select ‘HyperStack Displayer’ and visualise the detected spots in the video. It is not required to set additional filters on the detected spots in this tutorial. Press next to go to the tracking part in the wizard.
2. Tracking in TrackMate
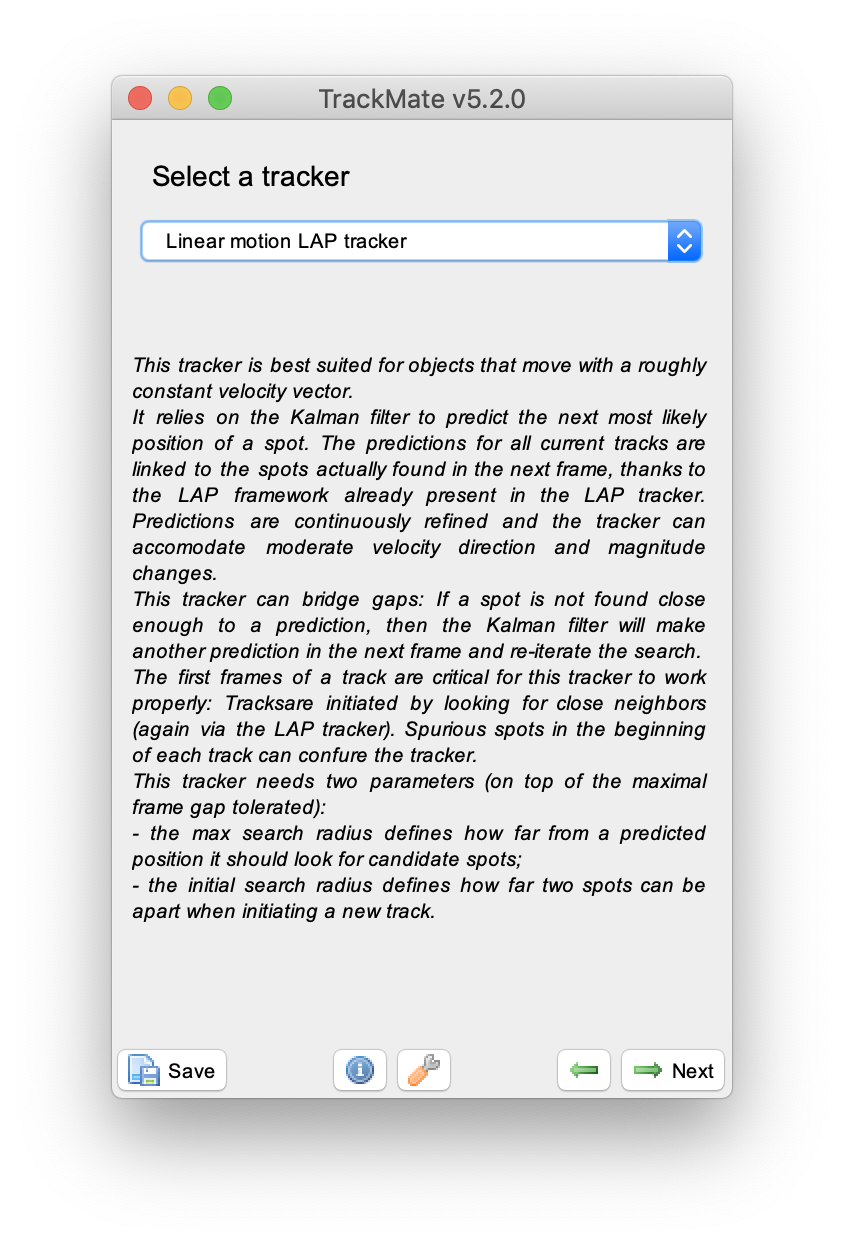
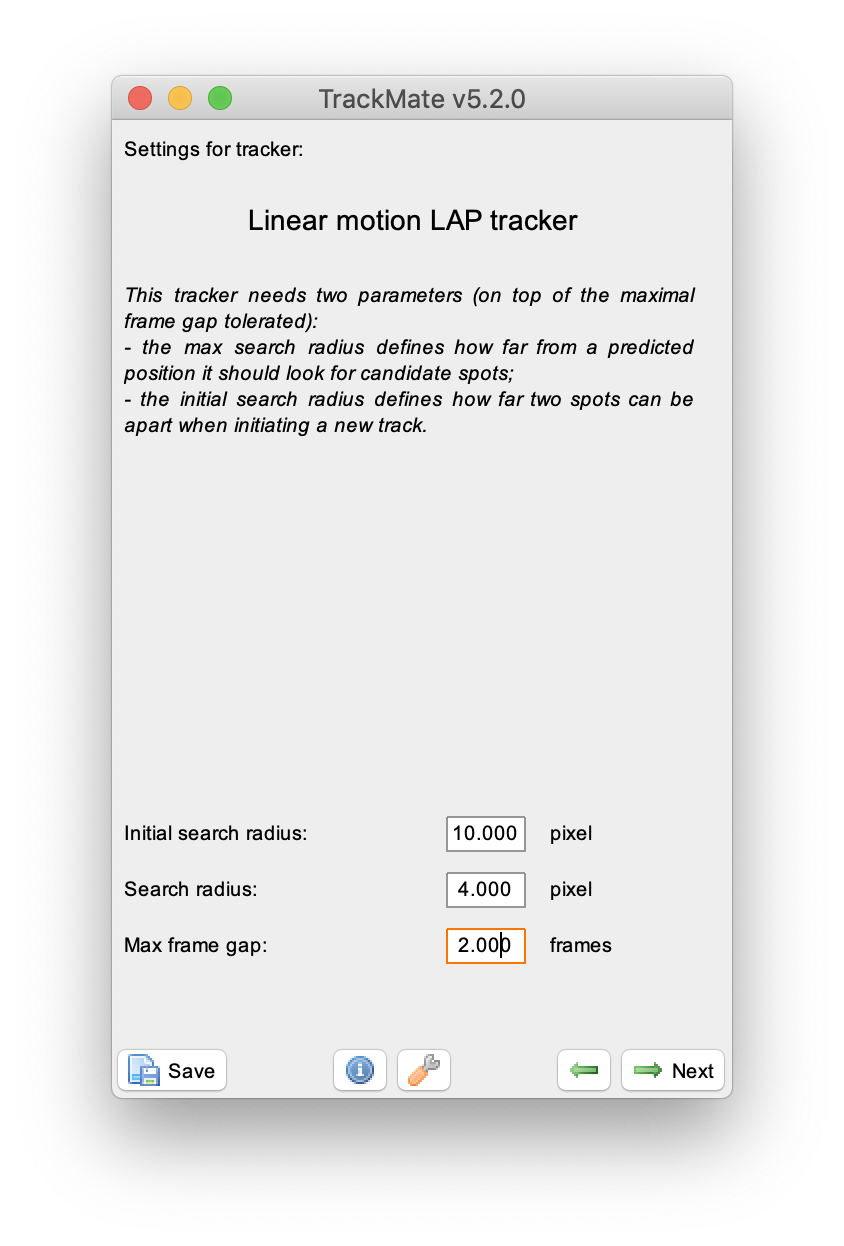
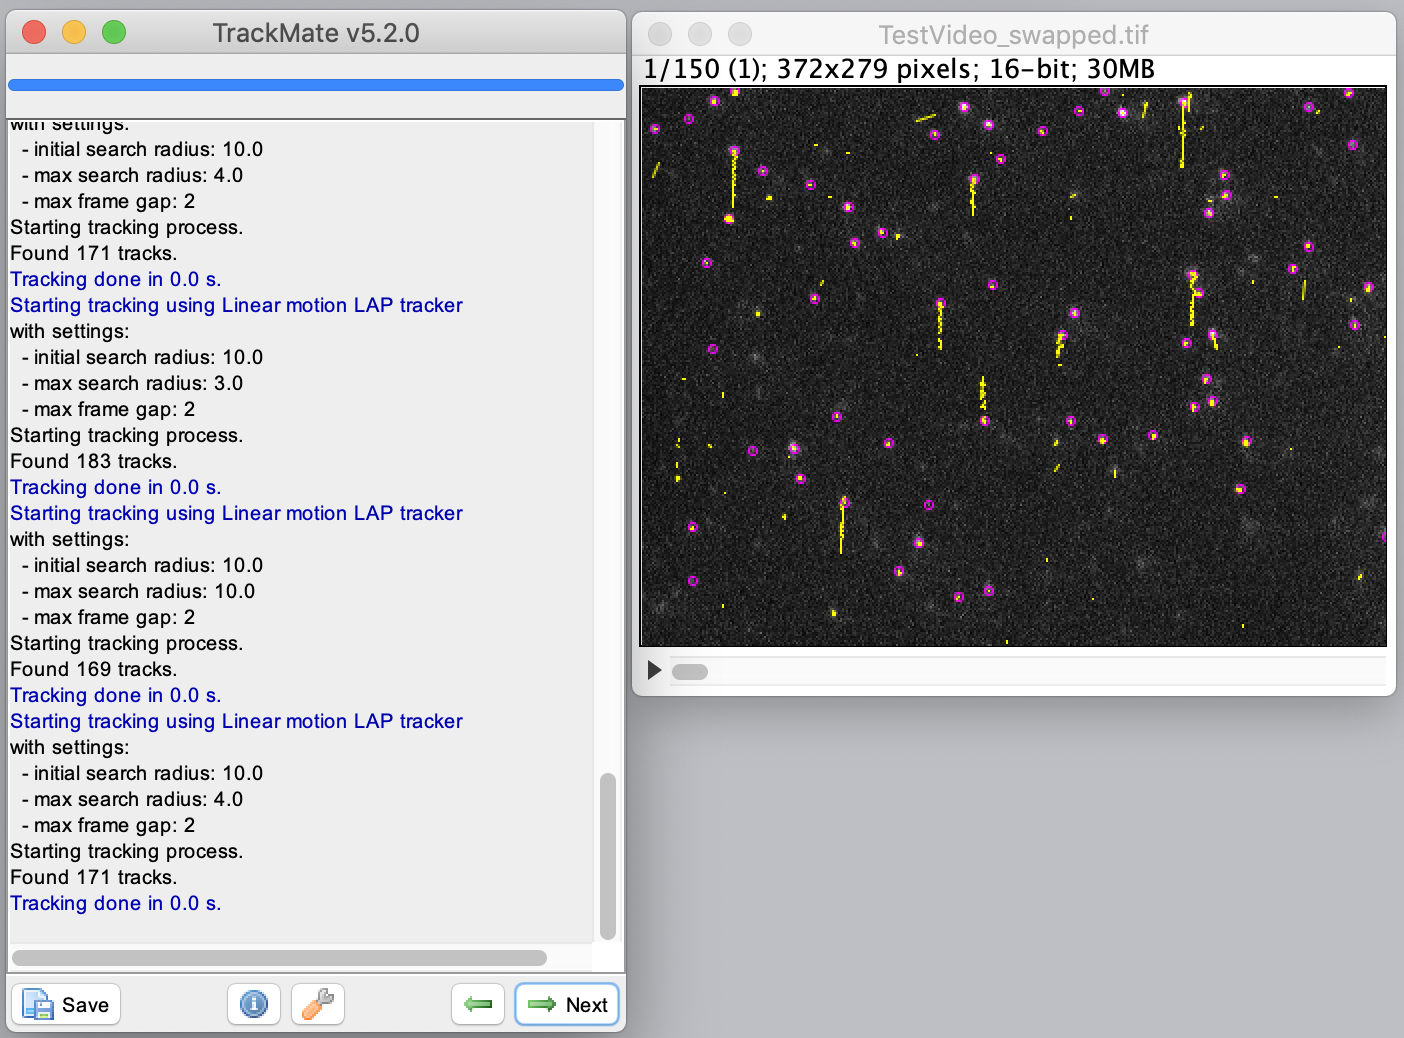
Select the ‘Linear motion LAP tracker’ to continue with the tracking process. This tracker is most suitable for the example dataset, since it deals with linear movement with an uniform velocity. Provide the following settings: ‘Initial search radius’: 10 pixel, ‘Search radius’: 4 pixel & ‘Max frame gap’: 2 frames. Run the tracker and inspect the results displayed on the video as yellow tracks. Press next to go to the filtering section.
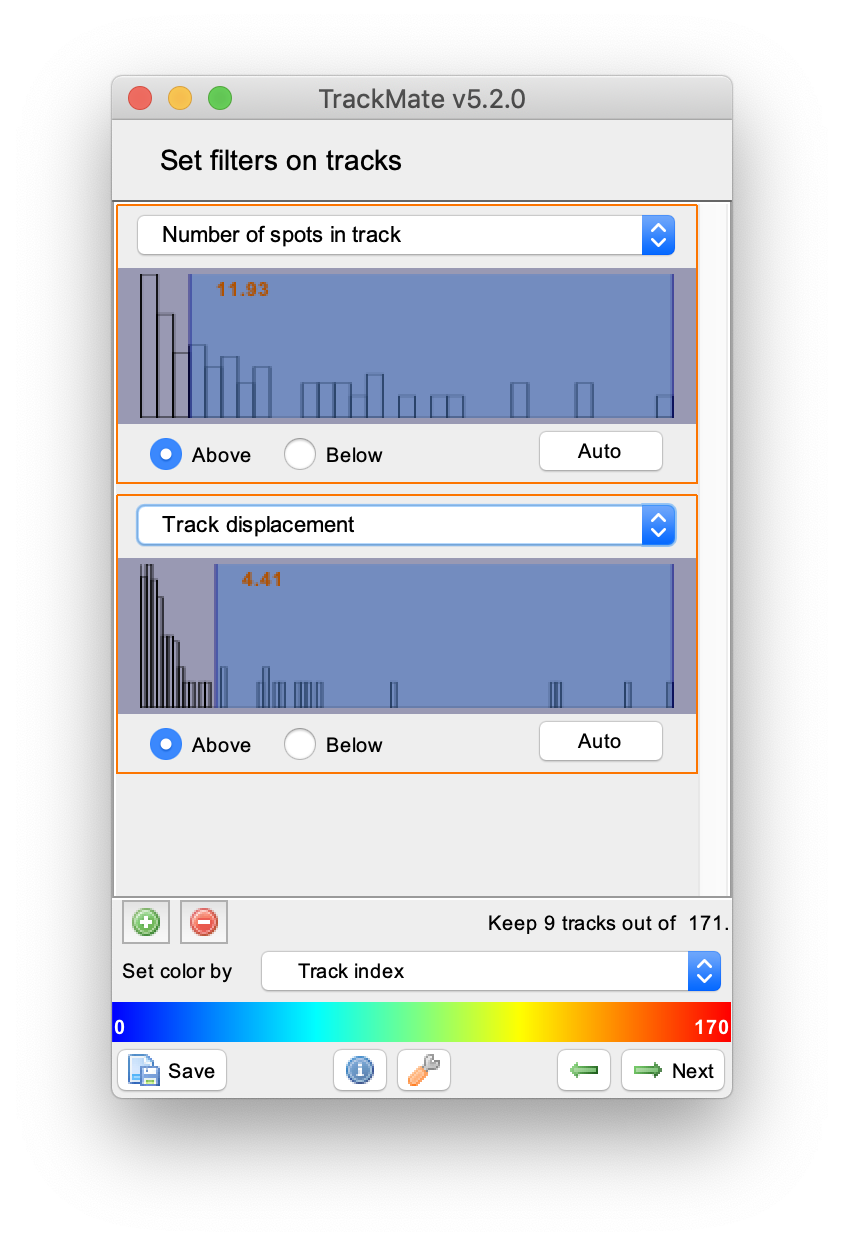
To filter for longer tracks containing a higher number of detected spots set two filters: ‘Number of spots in track’ and ‘Track displacement’. Add filters by pressing the plus green button in the lower left corner of the widget. Provide the filter settings as shown to end up with 9 vertical tracks of reasonable length. In the next windows display options such as colour can be adjusted and feature plots can be generated. This is outside of the scope of this tutorial. To continue with this tutorial press next in the menu twice until the window with the header ‘Select a action’ appears.
3. Exporting the Traces to Mars
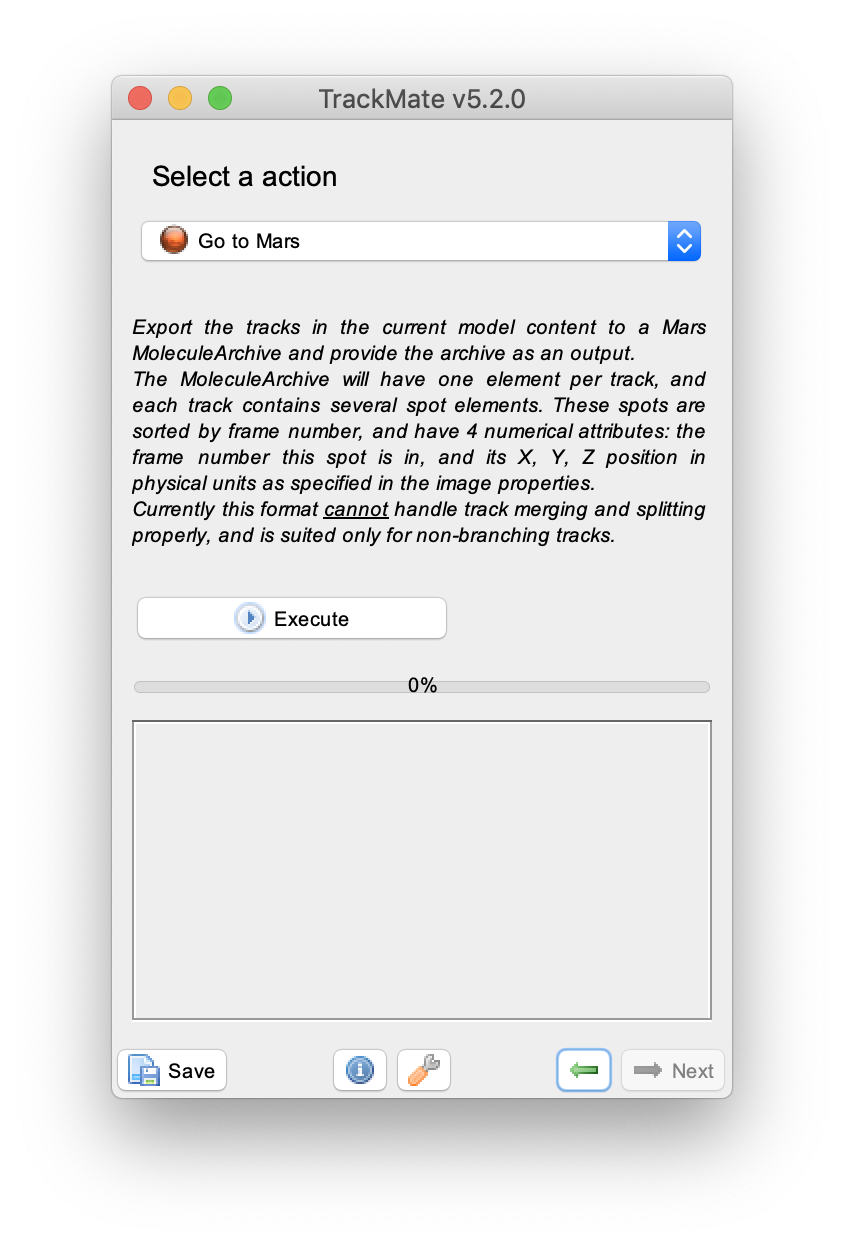
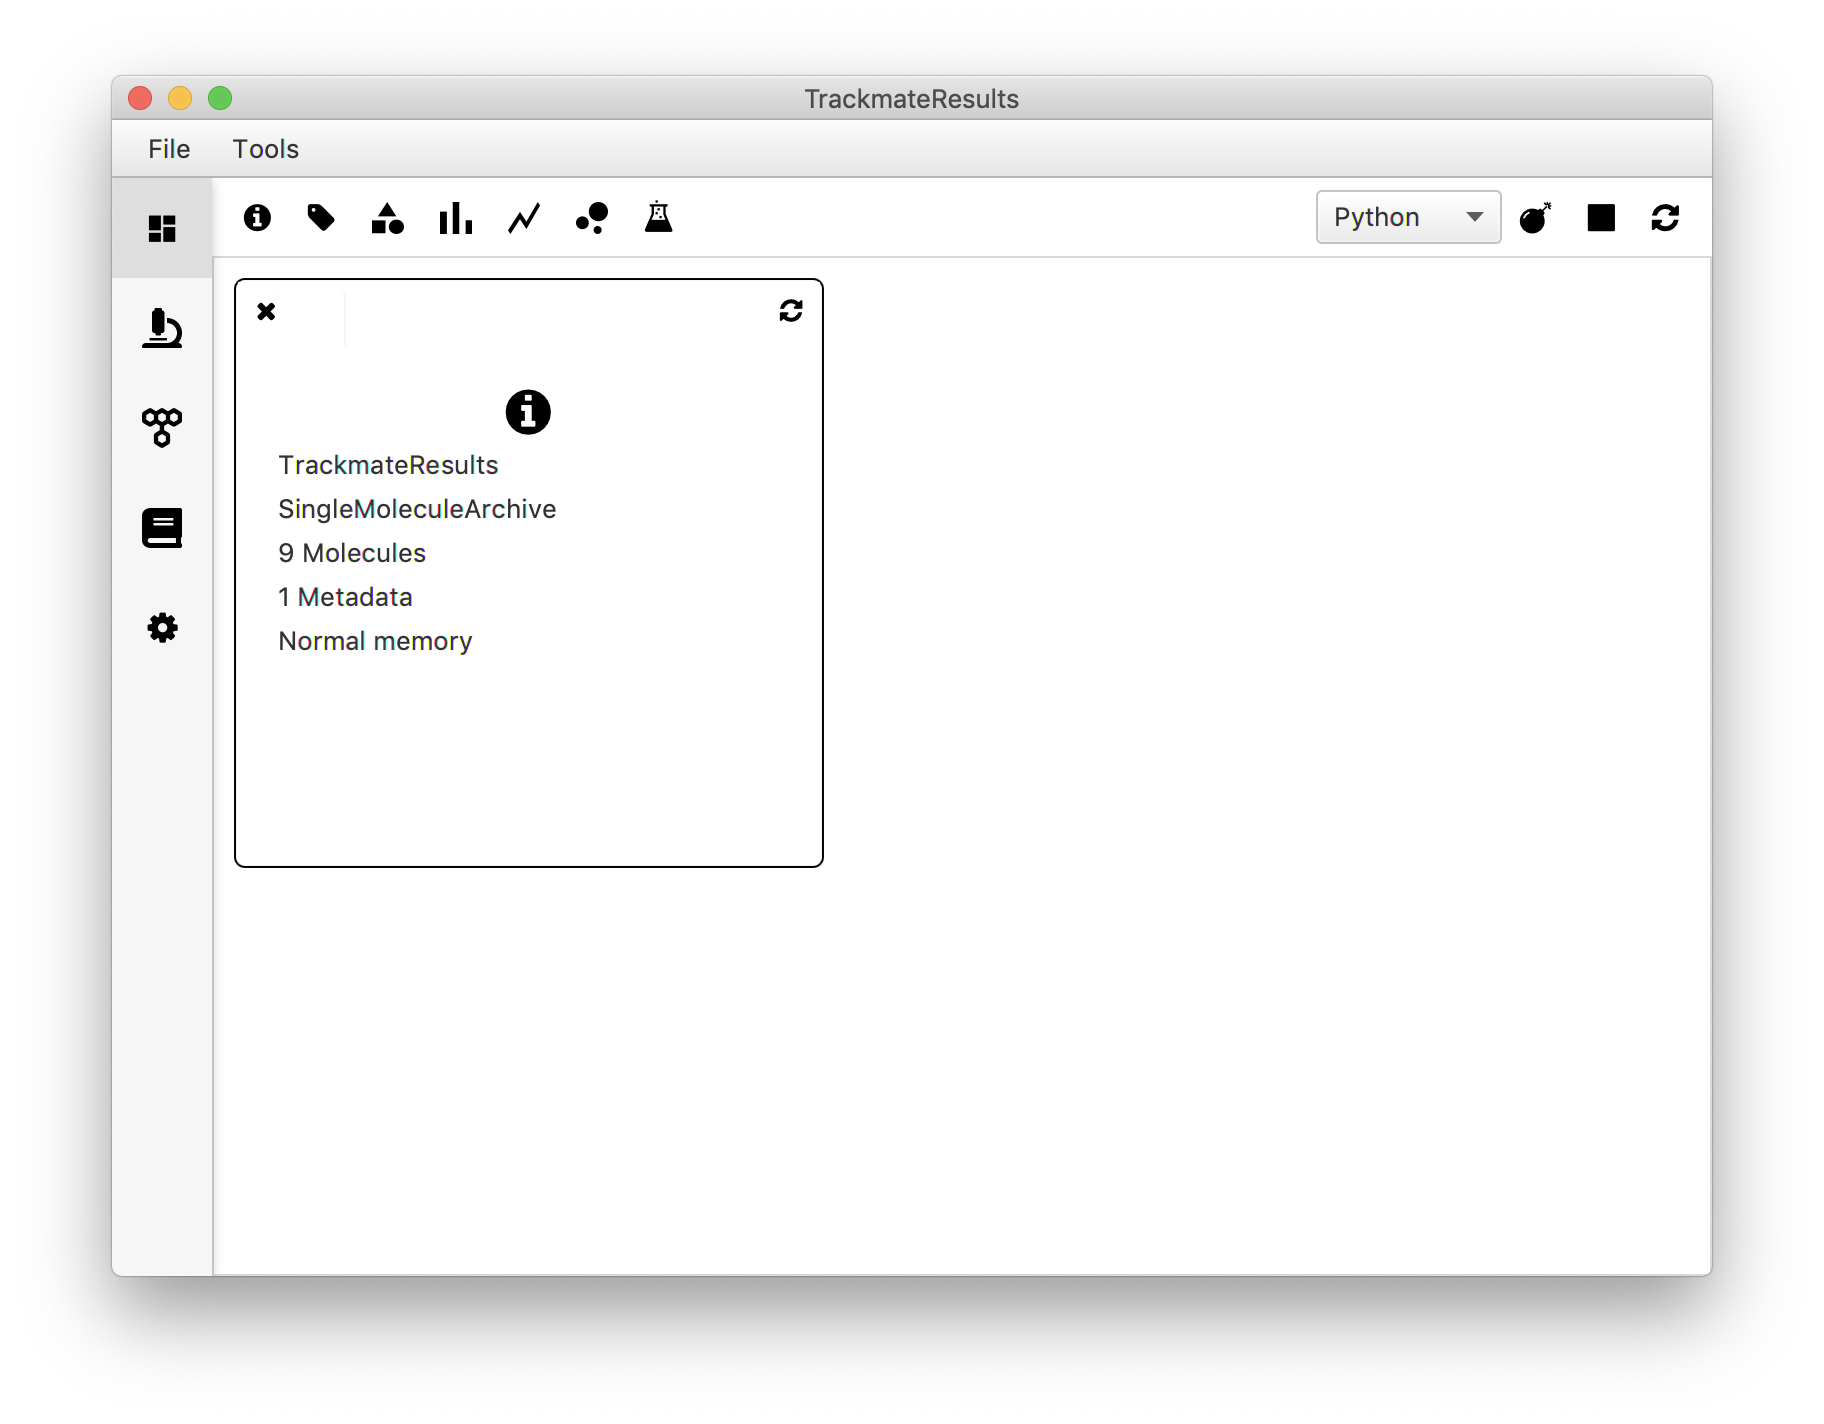
To export the traces to Mars select ‘Go to Mars’ in the drop-down menu and press the ‘Execute’ button. This will open Mars Rover with the MoleculeArchive containing the traces. Save the Archive using File>Save.
Note: Be aware that when using TrackMate to build a Molecule Archive only the traces selected through the filtering options in the TrackMate dialog end up as molecule entries in contrast to using the Mars Peak Tracker and do all the filtering in the Mars Rover GUI.
1 Tinevez, JY.; Perry, N. & Schindelin, J. et al. (2017), “Trackmate: An open and extensible platform for single-particle tracking.”, Methods 115: 80-90, PMID 27713081